22 Aug What it takes to paint a ceiling
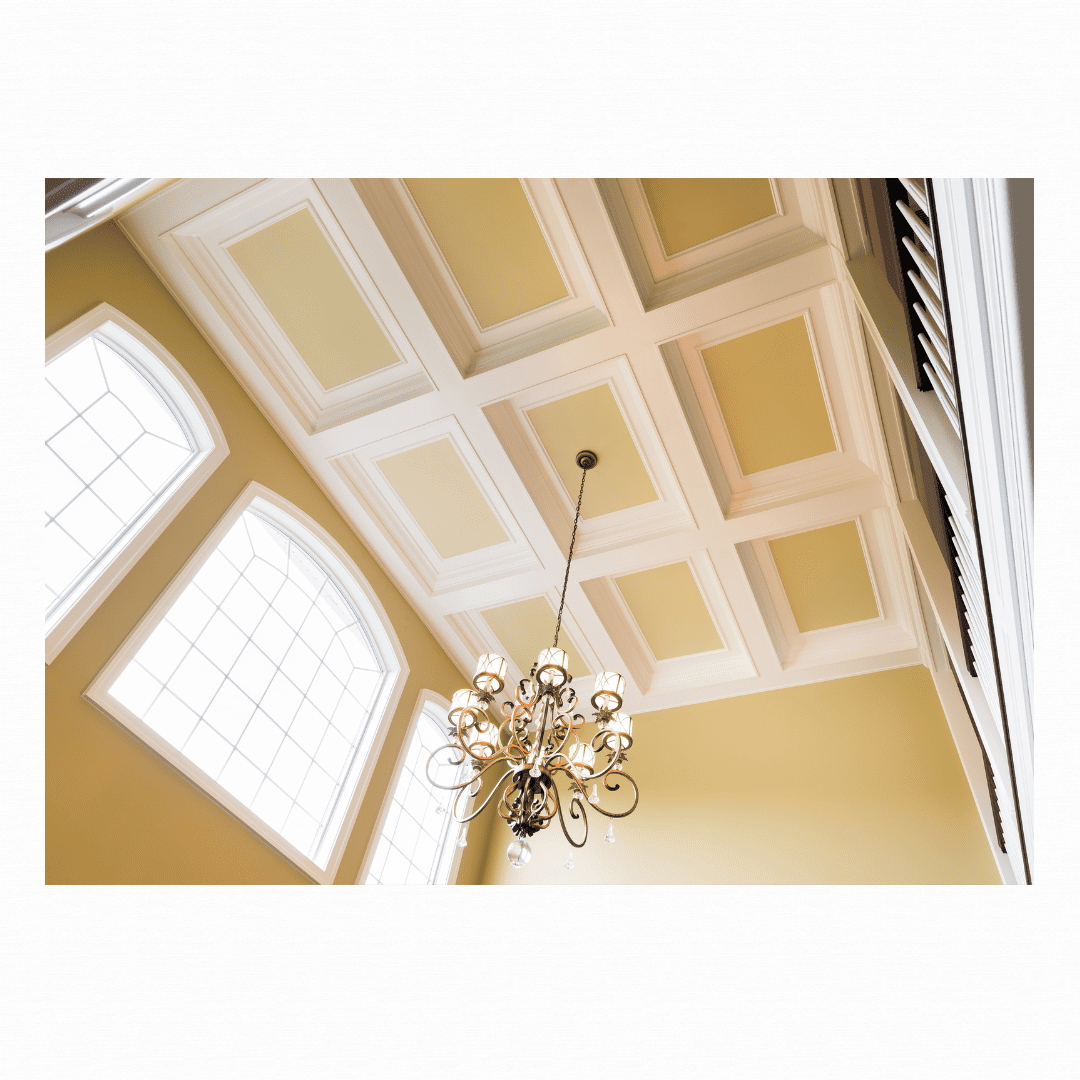
Painting a ceiling is about as challenging as you might think – if not more. Several factors have to be considered when tackling this project, including gravity. It takes work to paint above your head! However, the rewards of a freshly painted ceiling are worth it! So let’s consider what it takes to obtain a well-painted ceiling painting.
Priming and Prepping
Before picking up a paintbrush, everything in the room must be covered to be protected from potential paint splatters. This includes covering or removing furniture. Light fixtures should either be removed or well-covered.
The ceiling needs to be sanded and patched or repaired where necessary. It also might need to be primed before painting. The prepping work is essential to the project’s final results, so it’s crucial to complete this part. Experience with prepping is also vital to the results. Professionally experienced painters will undoubtedly achieve the best-finished product when painting a ceiling.
Tools & Equipment
You need an assortment of tools and equipment when painting a ceiling. You’ll need ladders, paint brushes, rollers, canvas or plastic sheeting, angled brushes, appropriate sanding tools, buckets, and paint trays. You might also need materials for patching sheetrock.
Painting Ideas
Most people paint their ceilings a shade of white. However, interior designers often consider the ceiling the fifth wall in a room and don’t hesitate to add color or wallpaper for visual design interest.
-
-
-
-
- You can select a color a few shades darker than the wall color.
- If the walls are dark, you can use a color that’s a few shades lighter.
- Dark colors can make the space look more intimate if you have very high ceilings.
- For a wow factor, add wallpaper to the ceiling!
- Another wow factor is to use a bold color on your ceiling or paint a pattern (like stripes) onto the ceiling. The options are endless!
-
-
-
Textured Ceilings
If your ceilings are textured, painting can get trickier. A specialized roller, made for textured surfaces, needs to be used. It absorbs more paint and provides a more even paint distribution. In some cases, using a special paint additive to match the texture of the ceiling is needed.
At Home Works Painting, we believe in meeting and exceeding our customers’ expectations. If you need assistance with your ceiling project, contact our office. We are your neighborhood paint contractor in Northern Virginia. We offer free estimates. Call us today or schedule your estimate online.
FAQ
1. What preparation is necessary before painting a ceiling?
Proper preparation is crucial for a successful ceiling paint job. This includes removing or covering furniture, laying down drop cloths to protect floors, and masking off the tops of walls, light fixtures, and trim with painter’s tape. Clean the ceiling thoroughly to remove dust, cobwebs, and any loose or flaking paint. If there are stains or damage, patch and repair these areas, and sand the surface for better paint adhesion.
2. Do I need to use a special type of paint for ceilings?
Yes, ceiling paint is specifically formulated to be thicker than wall paint, which helps reduce drips and provides a uniform, matte finish that hides imperfections. For high-moisture areas like kitchens or bathrooms, consider stain-blocking or moisture-resistant ceiling paint. Flat or matte finishes are generally preferred for ceilings.
3. Is priming the ceiling always required before painting?
Priming is recommended if the ceiling has never been painted, has stains, or you are covering a darker color. A stain-blocking primer ensures better paint adhesion and coverage, resulting in a more even and long-lasting finish. Some modern ceiling paints include primer, but for severe stains or new drywall, a separate primer is best.
4. What tools and techniques are best for painting a ceiling?
Use a roller with an extension pole for the main ceiling area and an angled brush for cutting in edges and corners. For smooth ceilings, a low-nap roller is ideal; for textured ceilings, use a thicker nap. Paint in small sections, keeping a wet edge to avoid lap marks, and always start by cutting in the edges before rolling the main area.
5. How can I ensure safety and minimize mess while painting a ceiling?
Work methodically and use a sturdy stepladder for reaching edges and corners. Wear protective gear like goggles and old clothing, and always ensure the room is well-ventilated. Move slowly to avoid spills and drips, and clean up any splatters immediately with a damp cloth. Take breaks to prevent neck and back strain, especially when working overhead for extended periods.

Mike Katounas is the owner of Home Works Painting, a painting business in Northern Virginia. He has over 15 years of experience in residential interior and exterior painting, drywall installation/repair, carpentry, wallpaper removal, power washing, commercial painting, color consultation, and staining/sealing. Their service areas include Chantilly, Fairfax, Herndon, Oakton, Reston. Mike takes pride in his work, and he always follows a strict code of conduct that includes the use of quality paint, a clean workspace, and an honest, respectful approach to his customers.


Sorry, the comment form is closed at this time.