26 Jul Can You DIY Paint Touch Ups?
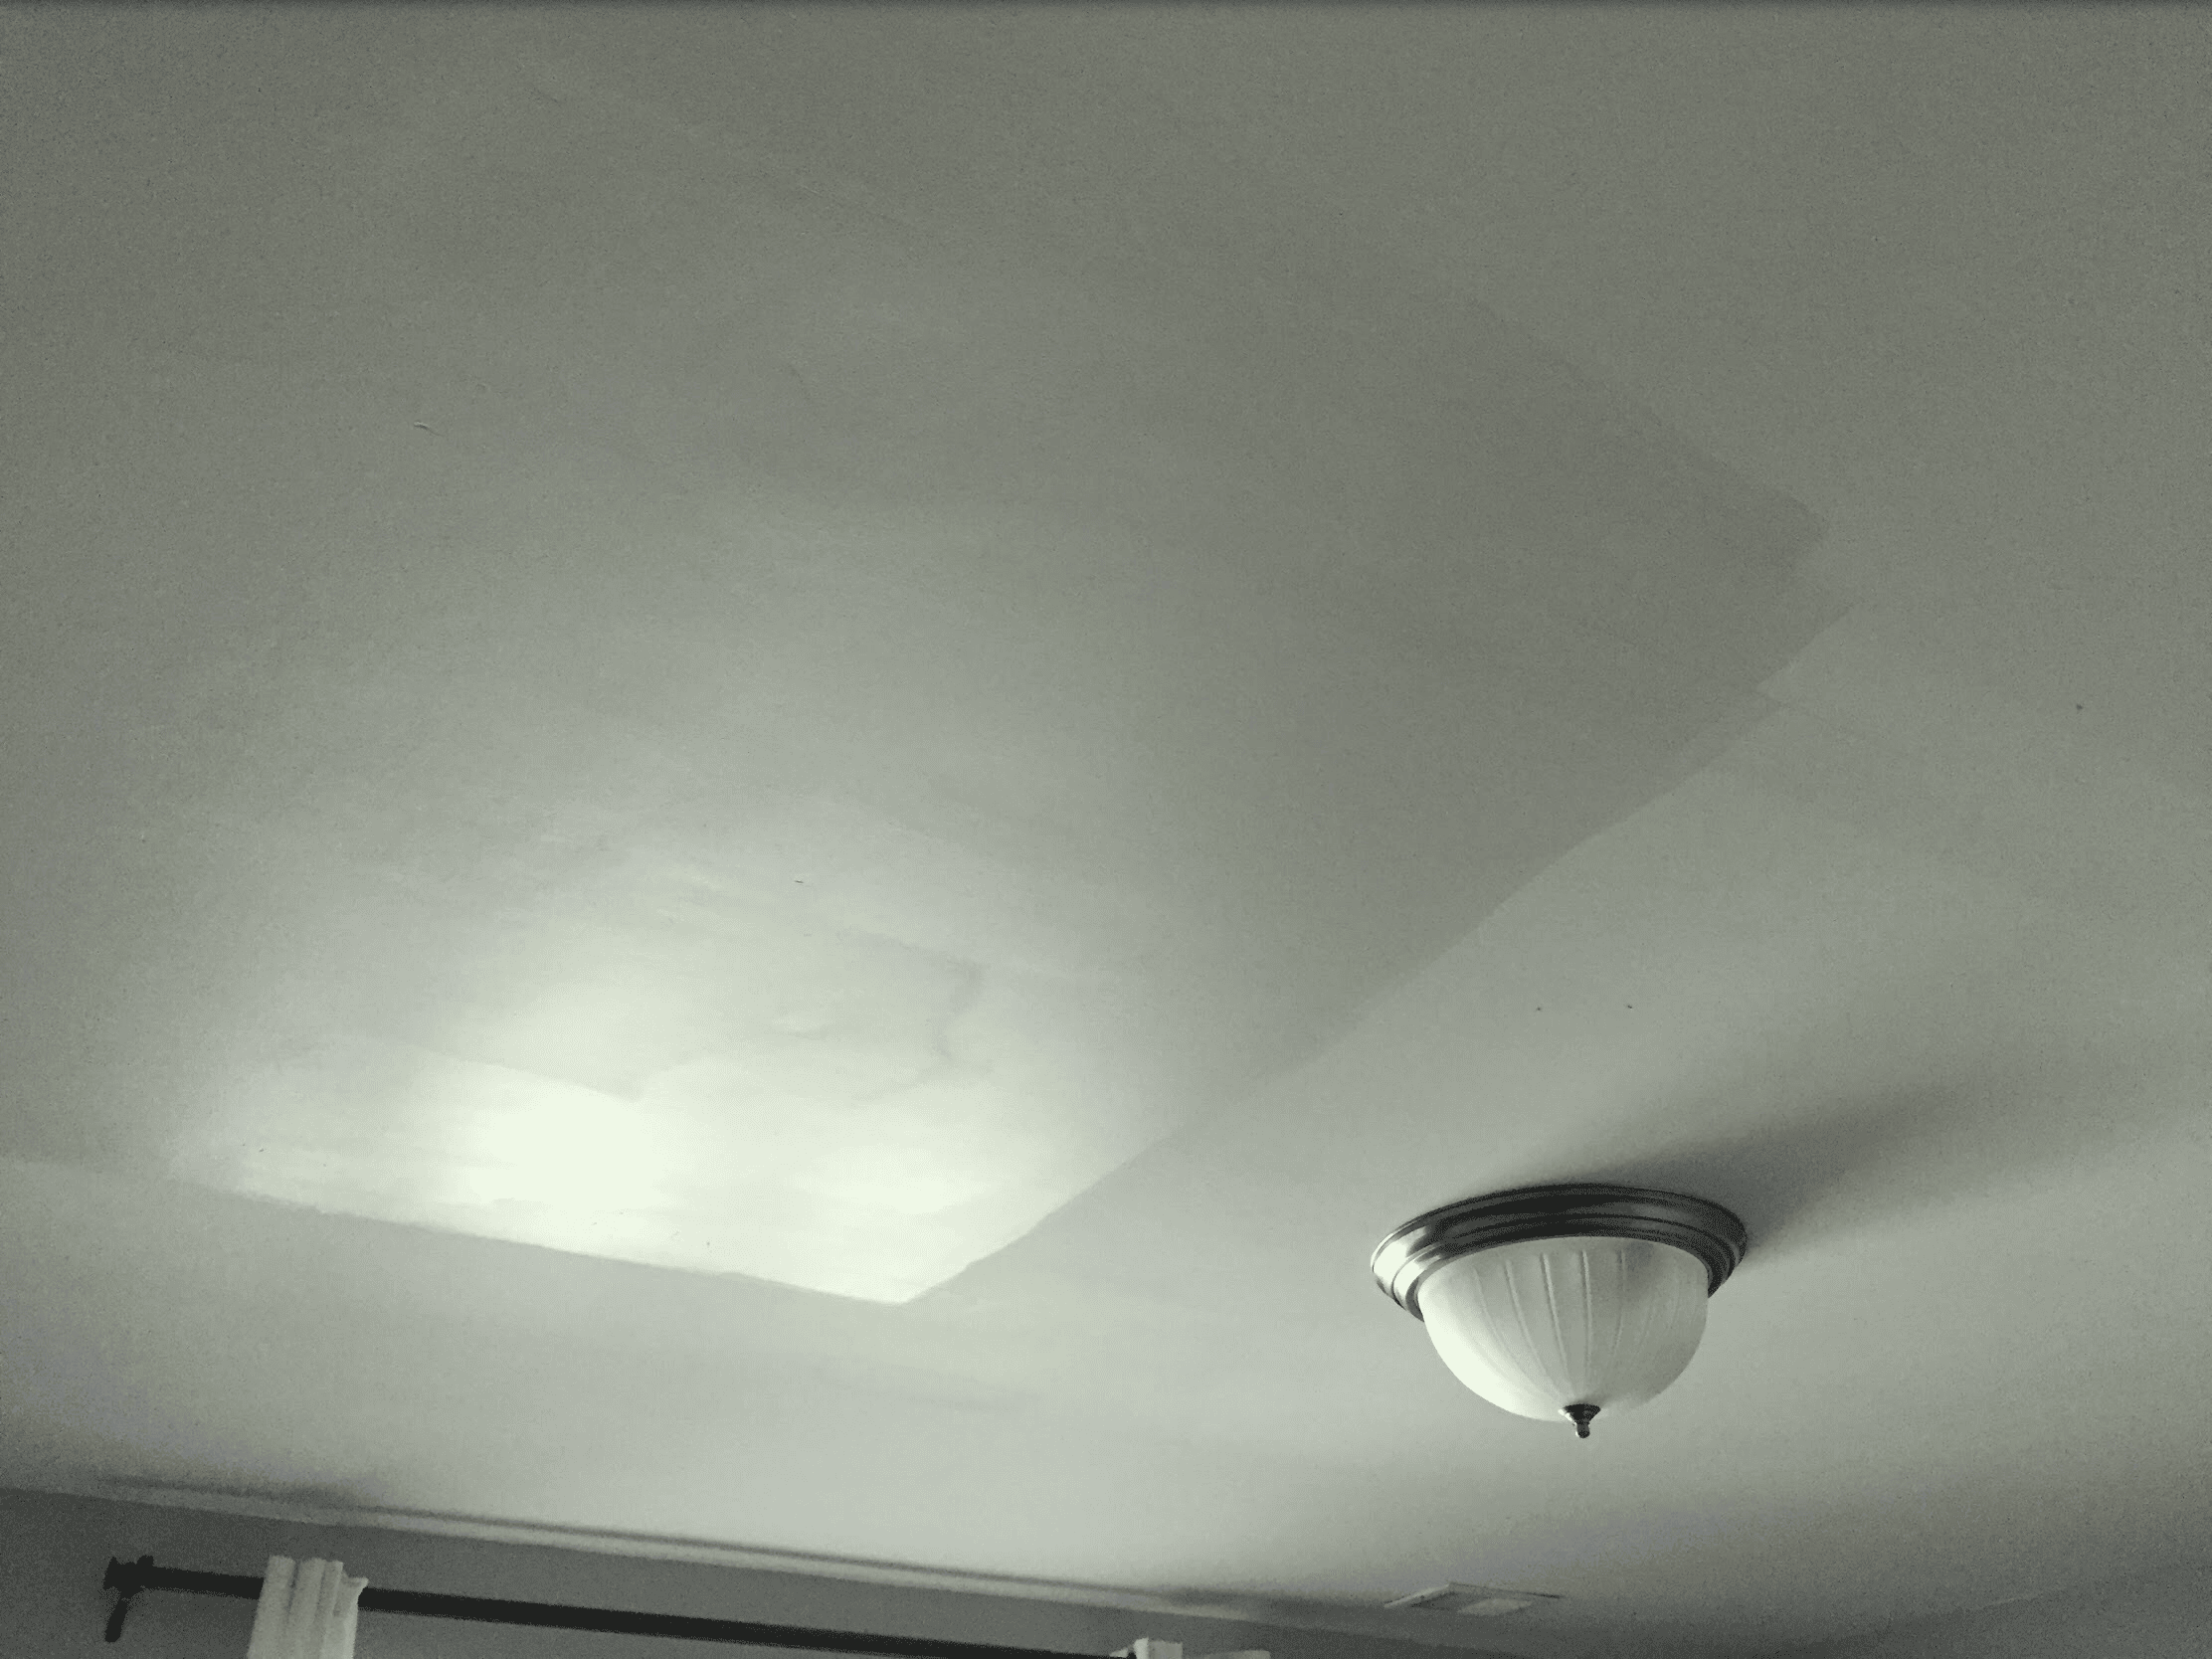
Although we may have provided you with a flawless paint job a few years ago, you may need to touch up specific areas over time, especially if you have children. Even if you don’t have kids, scratches, and dents on walls are inevitable. If only a few areas need touching up, you might be able to do it yourself with some paint and brushes. However, contacting us for a repaint might be best if many areas need attention. If you’re tackling it yourself, here are some tips to make it easier.
Possible Challenges
Please remember that performing touch-ups on walls can be difficult. Ideally, you have some leftover paint from the last time the walls were painted. Hopefully, it’s still usable. However, the leftover paint may have gone bad if it’s been years since the walls were painted.
Buying new paint for a touch-up may not match the existing wall color, even if it’s the same color.
If you have deeper dents or wall scratches, it may be difficult to patch them up on your own if you don’t have experience.
It’s important to only paint the specific area needing a touch-up, not a larger area than necessary. Doing this will make the touch-up less noticeable and easier to blend in with the existing wall paint.
Now that you know the challenges, here is what prep work needs to be done before you paint.
Preparation Before Painting
-
-
- Clean: To ensure the paint adheres properly, cleaning the wall before applying the paint is essential. Use a damp, soapy sponge to wipe away any dust or dirt. Then dry the surface with a clean towel or micro cloth.
- Repairs: To achieve a smooth painted finish, fix any holes or scratches on the wall before painting. Using sandpaper, remove any raised or rough sections, smoothing the area that needs to be repaired. Fill any scratches, holes, or nicks with a spackling compound using a putty knife. Follow the product’s directions on the application.
- Priming: You’re ready to prime once you finish cleaning and any repairs. Using a primer before you paint will give you better paint adhesion and color representation.
- Primer: We recommend using a high-quality latex primer just on the area you’ve repaired. Be sure the primer is completely dry before applying touch-up paint.
-
Painting
-
-
- Paint Type: If you use leftover paint, shake the can well before opening it. Open the can and stir the paint well. (If the paint has thickened, you can thin it with a paint thinner or water.)
- Paint Finish: You must use the same paint finish as the wall. Otherwise, your touched-up areas will be pronounced!
- Wall Texture: You must match the wall’s current texture using the same type of applicator used initially. For example, suppose a paint roller was used on the wall. In that case, you’ll need to do your touch-up (carefully) using a small roller with a similar texture to the one that was used previously. (See? It can be challenging to inconspicuously touch-up walls.)
- Paint Quantity: Less is more with paint touch-ups. Don’t drench your roller or paintbrush with paint. Start with a small amount of paint on whatever applicator you’re using. After all, you’re only painting a small section of the wall, not the entire wall. If you need to add a second coat of paint, wait until the first coat is completely dry.
-
Sounds Too Challenging?
Call us if this sounds too challenging or if you have too many touch-ups or repairs. Home Works Painting has the necessary experience to repair, retouch and repaint the entire wall, making it look new! Contact us today for a free estimate on your next paint project.
FAQ
1.
To perform DIY paint touch-ups, you’ll need a few basic tools and materials. These include a small paintbrush or roller, a paint tray, painter’s tape to protect surrounding areas, a putty knife for patching small holes or cracks, sandpaper for smoothing surfaces, and of course, the matching paint. Having a drop cloth or old newspapers to protect floors and furniture is also helpful. Make sure to have some cleaning supplies like rags or sponges for any spills or mistakes.
2.
Matching the existing paint color can be tricky, but it’s doable. If you have the original paint can, check the label for the color name or code and purchase the same shade. If you don’t have the original, take a small sample of the paint (like a peeled chip) to a hardware store or paint supplier. Many stores have color-matching technology to create a close match. Keep in mind that factors like fading over time or different lighting can affect how the new paint looks compared to the old.
3.
Yes, surface preparation is crucial for a seamless touch-up. Start by cleaning the area to remove dust, dirt, or grease using a mild detergent and water. If there are cracks or holes, fill them with spackle or putty and let it dry completely. Sand the area lightly to create a smooth surface and remove any loose or flaking paint. Finally, wipe down the spot to ensure no debris remains before applying the new paint.
4.
To avoid visible lines or patches, use the same type of paint (e.g., matte, satin, or gloss) and application method (brush or roller) as the original coat. Apply the paint in thin, even layers, feathering the edges where the new paint meets the old to blend them together. Avoid overloading the brush or roller with paint, as this can create uneven texture. If the touch-up still stands out, you might need to repaint a larger section or the entire wall for a uniform look.
5.
While many small touch-ups can be handled on your own, there are times when a professional is the better choice. If the area to be touched up is large, in a high-traffic or highly visible spot, or if the paint damage is due to underlying issues like water leaks or mold, a professional can ensure a better result. Additionally, if you’re unable to match the color or texture, or if the wall has a specialty finish, hiring an expert from a service like Home Works Painting can save time and frustration.

Mike Katounas is the owner of Home Works Painting, a painting business in Northern Virginia. He has over 15 years of experience in residential interior and exterior painting, drywall installation/repair, carpentry, wallpaper removal, power washing, commercial painting, color consultation, and staining/sealing. Their service areas include Chantilly, Fairfax, Herndon, Oakton, Reston. Mike takes pride in his work, and he always follows a strict code of conduct that includes the use of quality paint, a clean workspace, and an honest, respectful approach to his customers.


Sorry, the comment form is closed at this time.