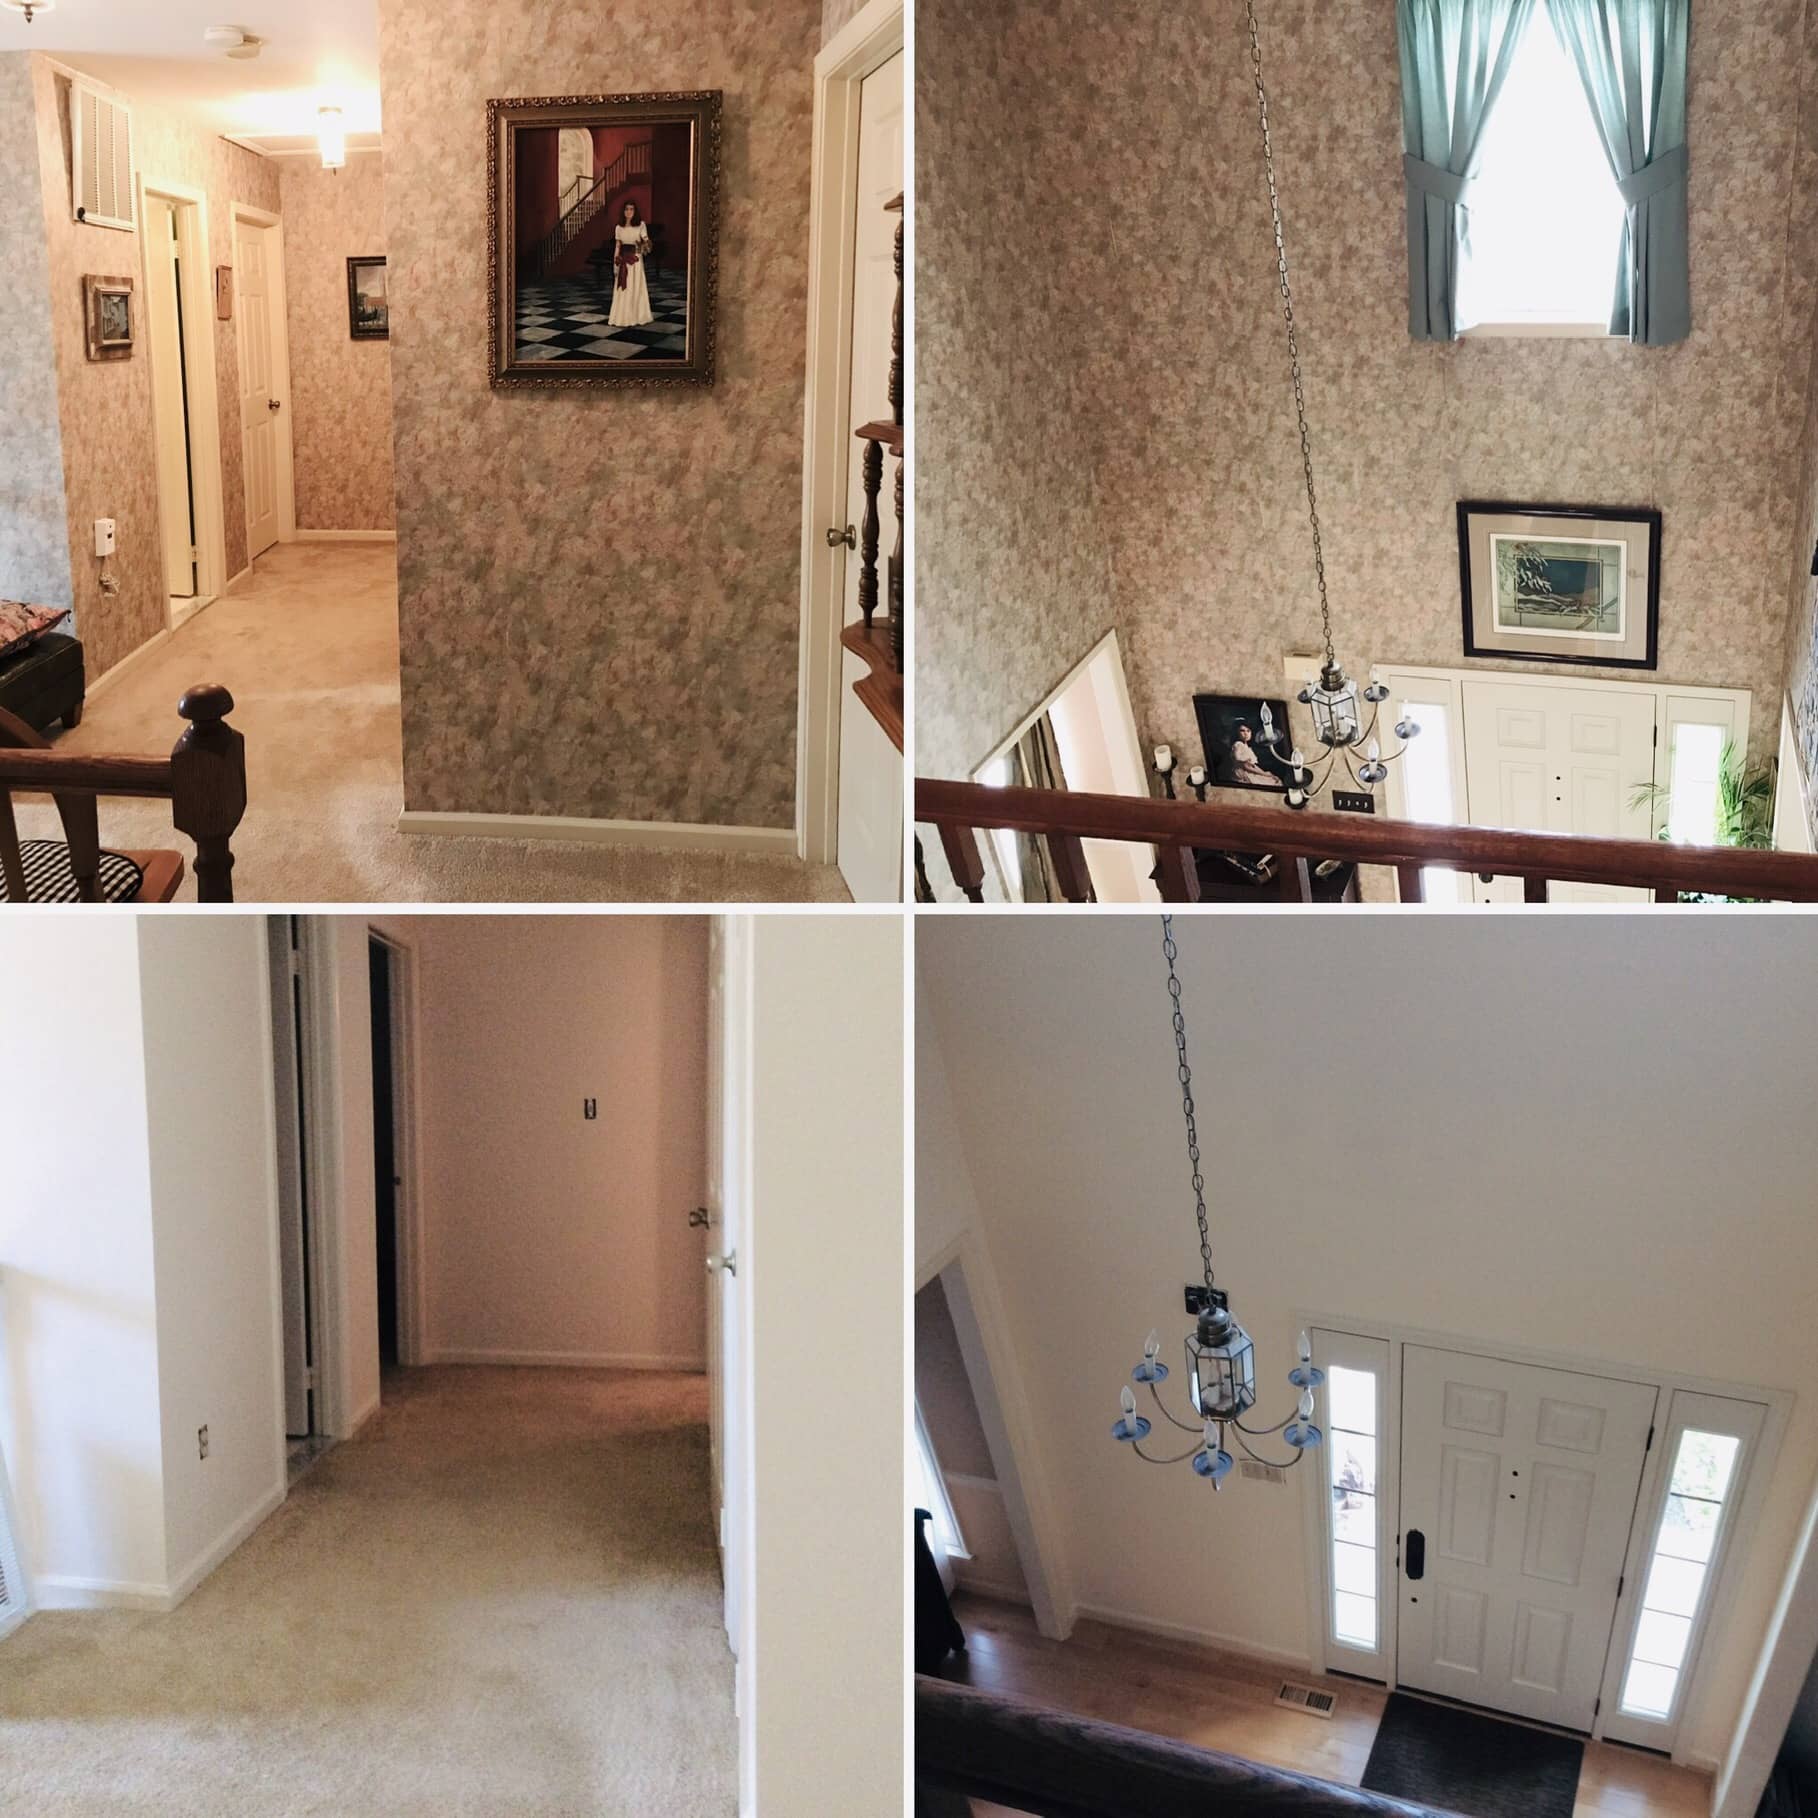
19 Sep Removing Wallpaper for a Beautiful Transformation!
- Patch holes and deep gouges.
- Fix cracking nail pops and large humping nail pops that stand out under natural lighting conditions while standing 4-6 feet back from the wall looking straight on.
- Sand any previous runs and sags.
- Nicks in outside corners will be sanded out.
- Repair stress cracks, cracking outside corners and lifting inside corners where applicable using fiberglass mesh or paper tape and 3-4 thin coats of quick set joint compound.
FAQ
1.
The best approach is to score the wallpaper lightly, apply a wallpaper removal solution or a mixture of warm water and mild soap, and let it soak for several minutes. Then, gently peel the wallpaper off using a putty knife, working slowly to avoid gouging or damaging the wall underneath.
2.
Yes, preparation is important. Move furniture away from the walls, cover floors and outlets with protective sheets, and remove any wall hangings or switch plates. This helps prevent damage to your belongings and makes cleanup easier.
3.
After wallpaper removal, you should thoroughly clean the walls to remove any adhesive residue. Allow the walls to dry completely, then inspect for any damage or imperfections. Patching, sanding, and priming the walls are recommended before applying new paint for the best results.
4.
Common tools and materials include a scoring tool, putty knife or scraper, sponge or spray bottle, wallpaper removal solution or warm soapy water, drop cloths, and gloves. A steamer can also be helpful for stubborn wallpaper.
5.
The time required depends on the size of the room, the type of wallpaper, and how well it was installed. A small room may take a few hours, while larger or more challenging areas could take a full day or more. Proper preparation and the right tools can help speed up the process.

Mike Katounas is the owner of Home Works Painting, a painting business in Northern Virginia. He has over 15 years of experience in residential interior and exterior painting, drywall installation/repair, carpentry, wallpaper removal, power washing, commercial painting, color consultation, and staining/sealing. Their service areas include Chantilly, Fairfax, Herndon, Oakton, Reston. Mike takes pride in his work, and he always follows a strict code of conduct that includes the use of quality paint, a clean workspace, and an honest, respectful approach to his customers.


Sorry, the comment form is closed at this time.