04 Jun Maintain Your Home’s Integrity: Caulking Essentials
Caulking is the unsung hero of home maintenance. It diligently works in the shadows, shielding your living space from the elements stealthy encroachment.
Whether sealing a drafty window, preventing water damage in the bathroom, or ensuring your kitchen sink remains a bastion against moisture, the right caulk in the right place can make all the difference. Signs that it’s time to recaulk include cracks or gaps in the caulk, peeling or flaking caulk, or a draft from a window or door.
Without it, your home is left vulnerable to intruders, from water to pests, that can compromise its structural integrity and aesthetics. But with the right caulking, you can feel reassured and safe, knowing your home is protected.
So, grab your caulk gun and prepare to fortify your house’s defenses.
Keep reading to discover the indispensability of this seemingly modest fixture and empower yourself with the knowledge to apply it confidently. Mastering the art of caulking can make you feel in control of your home’s maintenance, ensuring its longevity and efficiency.
Why Caulking Is Vital for Home Maintenance
When entering the world of home maintenance, one might underestimate the humble role of caulk, but let me reassure you: its function is anything but trivial.
As a keen observer of the intricacies within our homes, I’ve learned that caulking is a silent guardian against water intrusion. It is a sealant that fills gaps and prevents moisture from invading our sacred spaces.
It serves as a waterproof barrier between the harsh elements and the sanctity of our abodes.
Proper caulk application can also be pivotal in maintaining our homes’ energy efficiency. Sealing those unseen crevices prevents air leaks, which can significantly reduce heating and cooling expenses. Additionally, it helps maintain a comfortable indoor temperature, reduces the workload on your HVAC system, and extends its lifespan.
Sealing those unseen crevices prevents air leaks, which can significantly reduce heating and cooling expenses.
Embracing caulking is not just about sealing a crack—it’s about safeguarding the home against potential damage and optimizing our living environment for cost-saving and comfort.
Understanding the Role of Caulk in Waterproofing
In my professional journey through home improvement, I’ve witnessed the transformative power of caulk in the art of waterproofing. It acts as the unsung hero in spaces exposed to moisture – like bathrooms and kitchens – adhering to surfaces precisely, ensuring that every corner and joint is watertight, and shielding the home from the relentless siege of water damage. Without caulk, these spaces would be vulnerable to leaks, leading to mold, mildew, and structural damage.
The vigilance of caulk in the waterproofing process is unparalleled; it bridges the vulnerable gaps where water seeks entry, thereby fortifying walls, floors, and fixtures against the potential onslaught of mold and mildew. My experience has shown that a well-sealed home maintains its structural integrity and promotes a healthier living space free from unwanted dampness and the troubles it brings.
Preventing Damage and Saving on Energy Costs
In my years of offering home improvement advice, I’ve honed in on the unmistakable connection between well-executed caulking and preserving a house’s integrity. It’s the shield against elemental onslaughts, preventing costly structural damage caused by water seepage, which can compromise wood, drywall, and other building materials over time. By sealing joints and seams, I help homeowners side-step the path of decay that unchecked water entry can leave behind.
Moreover, the ripple effects of adept caulking stretch into energy conservation. I’ve seen how an expertly applied bead of caulk eradicates drafts, contributing to the stabilization of indoor climates and curtailing the need for excess heating and cooling. This leads to tangible savings on energy bills, a benefit my clients sincerely appreciate as they manage other household costs. In essence, good caulking equals less energy waste, and that’s a win for the wallet and the environment. So, by investing in caulking, you can feel relieved and confident in your financial savings.
Selecting the Right Type of Caulk for Different Projects
Embarking on the seemingly small yet critical task of caulking can feel like navigating a maze with its slew of options and applications.
From my seasoned perspective, the first step to ensuring a successful seal is discerning the distinct attributes and optimal uses of silicone versus acrylic caulk.
It’s imperative to tailor your choices to the unique demands of each project, especially when it comes to the heightened moisture resistance required in bathrooms and kitchens or the durability sought for exterior applications.
This selection process is a cornerstone for supporting the longevity and efficacy of your home’s defense against wear and tear.
Knowing When to Use Silicone Versus Acrylic Caulk
When choosing a caulk for your project, it’s crucial to understand the materials you’re working with. Silicone caulk reigns supreme in wet environments due to its superb waterproof properties and flexibility. It’s my go-to recommendation for bathrooms and kitchens, where constant exposure to water demands a resilient seal that won’t shrink or crack over time.
On the other hand, acrylic caulk, often called latex caulk, offers a more accessible application and a paint-friendly surface, making it ideal for interior projects that will receive a fresh coat of paint. While it doesn’t match silicone’s resistance to moisture, it’s perfect for closing gaps in areas like baseboards and crown molding, where the required seal does not endure as much direct contact with water:
| Type of Caulk | Best Used For | Why |
|---|---|---|
| Silicone | Bathrooms, Kitchens | Resists water, flexible, long-lasting |
| Acrylic | Interior Walls, Molding | Easy to apply, paintable, sufficient for dry areas |
Special Considerations for Bathrooms, Kitchens, and Exteriors
Caulking is crucial in bathrooms and kitchens due to constant water exposure and humidity. A silicone-based caulk is not just a recommendation; it’s a necessity: its resistance to moisture and flexibility ensure seals remain intact, even as temperatures fluctuate and surfaces expand or contract.
Conversely, exterior caulking demands a product that can withstand nature’s wrath—from blistering sun to freezing temperatures. It must also adhere to various materials, such as wood, metal, and masonry, making the selection of a versatile and durable caulk imperative for outdoor use.
- Silicone caulk for resistance to moisture in bathrooms and kitchens.
- Flexible caulks that can handle temperature-induced expansion and contraction in varied climates.
- Exterior-grade caulk for diverse material adherence and weather resistance for outdoor use.
Preparing Surfaces Before Applying Caulk
Before the transformative stroke of a caulking gun can bless a fissure with its sealant grace, we must lay the groundwork with scrupulous surface preparation—this philosophy I preach religiously.
Proper cleaning and drying of the area are critical to ensure that the caulk adheres steadfastly, forming an impenetrable barrier against moisture’s insidious creep.
Equally paramount is removing any remnants of old caulk and repairing damages lurking beneath, which, if neglected, could sabotage the integrity of the newly applied seal.
As we survey the soon-to-be-filled crevices, envisioning them in their fortified glory, remember that diligence in these preparatory steps paves the way for peak performance and endurance of your caulking efforts.
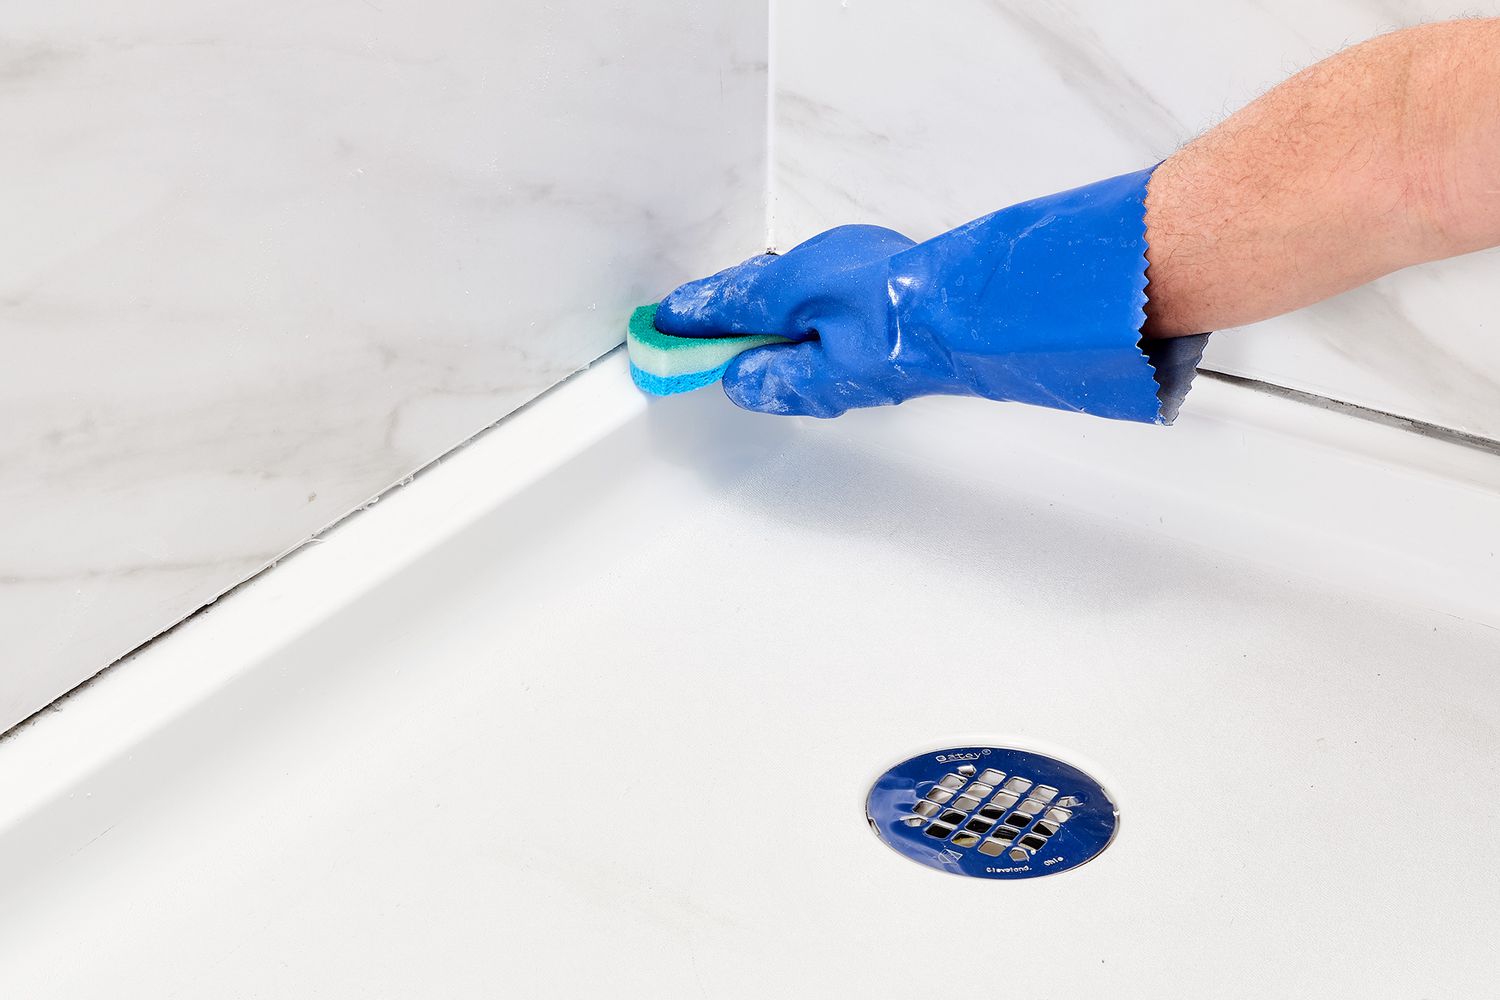
Cleaning and Drying Areas Thoroughly for Maximum Adhesion
Embarking on caulking without thorough cleaning is much like painting on a dusty canvas—results can be subpar. I stress to my clients the importance of meticulously cleansing the surface because any trace of dust, debris, or oil can fundamentally weaken the caulk’s adhesion, risking its effectiveness and durability. Therefore, before the caulk even debits from the tube, the area must be spotless and dry as the outcome of the caulk’s bond—and, by extension, the home’s integrity—rests heavily upon this critical cleaning stage.
I’ve observed that patience is a virtue when ensuring areas are arid before caulking; any moisture remaining can be a silent adversary to a secure seal. Drawing from my experience, I encourage a wait time after cleaning so that every water droplet evaporates. Time and time again, I watch as this careful drying procedure culminates in a stalwart adhesion of the caulk, bestowing the home a robust defense against the elements that seek to penetrate its shield.
Removing Old Caulk and Repairing Any Damage
Removing old caulk is a critical step in home maintenance that must be approached with precision and care. I always emphasize to my clients the importance of stripping away all traces of previous sealing efforts before proceeding further; it’s the only way to ensure a pristine surface that will bond appropriately with new applications of caugh. Any leftover residue or patches of old caulk can compromise the effectiveness of the new seal, so I take great pains to remove every last speck.
Repairing any underlying damage is as crucial as removing old caulk when aiming for a durable, long-lasting seal. I’ve seen too many hurried repairs where unseen issues like rot or mold were covered up, leading to more severe problems down the line. I advocate for a cautious inspection after the old caulk is gone, addressing any damage found with thorough repairs to create a solid and sound foundation for the new caulking, ultimately upholding the standards of my craft.
Step-by-Step Guide to Applying Caulk Like a Pro
Mastering the craft of caulking safeguards your home’s structural integrity and enhances its aesthetic appeal.
Each phase of the process is pivotal, starting with adequately cutting the tip and loading the caulk gun—an often overlooked step that sets the tone for the task.
Equipped with the proper technique, one can lay down a smooth, even bead of caulk with precision, minimizing waste and ensuring a finish that would make any professional take notice.
Let’s fine-tune these actions, ensuring every motion contributes to a robust seal tailored to stand the test of time and the scrutiny of the discerning eye.
Cutting the Tip and Loading the Caulk Gun Properly
Embarking on your caulking adventure starts with a simple yet crucial act: cutting the caulk tube’s tip. A clean, angled snip, no more significant than the size of the gap you’re filling, is key to controlling the flow and consistency of the caulk for a seamless application. Affix the tube securely within the caulk gun, ensuring it’s locked and ready, as this will prevent any unwanted sputtering that can mar the elegance of your handiwork.
Once the caulk tube is perfectly positioned in the gun, apply the right amount of pressure to deploy the sealant steadily. Gentle yet firm is the mantra. Carefully release the trigger after each application to avoid excess caulk oozing. Mastering this balance minimizes wastage and enables you to lay down a precise bead, leaving no room for hasty rework and elevating the quality of your execution.
Techniques for a Smooth, Even Bead With Minimal Waste
Every stroke of the caulk gun is a testament to precision—the hallmark of professional workmanship. It begins with holding the gun at a consistent 45-degree angle to the joint, moving smoothly along the seam, allowing the caulk to settle into an even bead without overflow—a technique that marries finesse with utility, eliminating waste and ensuring each motion is deliberate, and every inch of sealant is optimally used.
Resisting the urge to rush this task, I maintain a steady hand and pace, for the essence of crafting that perfect bead lies in synchronized movement and pressure control. With the caulk gun as my brush and the joints as my canvas, I apply a continuous, carefully measured amount of caulk, which not only secures a strong seal but also keeps the cleanup to a bare minimum, mirroring the efficiency and clarity that define my professional ethos.
Solving Common Problems With Caulking Projects
Throughout my vocation in home maintenance, I’ve encountered my share of caulking challenges, and understanding how to address them is essential for preserving your home’s integrity. One such prevalent issue is caulking shrinkage, which, if not anticipated, can lead to gaps re-emerging after the caulk has dried. To counter this, I always ensure that the caulk is liberally applied. I advise homeowners to keep a watchful eye during the drying process, ready to use an additional layer if needed.
Another common hiccup I’ve noticed is the difficulty in achieving a smooth finish, which can disrupt the harmony of a space with an unsightly seal. Here, the trick lies in the artistry of your technique—maintaining a consistent pace and angle while moving along the seam. This uncompromising approach to maintaining aesthetic quality never fails to result in a caulk line that is as pleasing to the eye as it is functional.
Caulking uneven surfaces can be challenging, even for seasoned hands. I have invariably found success in taking extra time to prepare the surface and filling more significant gaps with backing material before applying caulk. This step is crucial as it provides a solid base for the caulk to adhere to, ensuring a secure seal that stands the test of time and the elements.
Lastly, I’ve seen issues with caulk adhesion, a fundamental aspect that can undermine the sealant’s purpose if appropriately handled. My strategy is to always opt for high-quality caulk suited for the material and conditions, coupled with surface prepping. This attention to detail ensures a successful caulk application, upholding the home’s protective envelope and my client’s satisfaction.
Caulking is a vital defensive layer that preserves your home’s structure by thwarting water damage and enhancing energy efficiency.
Selecting the right caulk for the task—silicone for moist areas or acrylic for dry ones—remains pivotal for coping with various conditions and demands.
Notably, the success of a caulking project hinges on diligent preparation and adept application techniques to ensure a lasting, aesthetic finish.
Thus, homeowners can maintain the integrity and health of their living spaces by understanding and applying these caulking essentials.

Mike Katounas is the owner of Home Works Painting, a painting business in Northern Virginia. He has over 15 years of experience in residential interior and exterior painting, drywall installation/repair, carpentry, wallpaper removal, power washing, commercial painting, color consultation, and staining/sealing. Their service areas include Chantilly, Fairfax, Herndon, Oakton, Reston. Mike takes pride in his work, and he always follows a strict code of conduct that includes the use of quality paint, a clean workspace, and an honest, respectful approach to his customers.


Sorry, the comment form is closed at this time.