20 Aug How to paint a ceiling – 5 tips and best practice
When it comes to painting, ceilings rank pretty high on the list of challenges. We typically advise folks to leave ceiling painting to the pros. However, if you are up for the challenge, here’s what you should know to achieve a professional finish.
Here are five tips and best practices:
1. Prepare the Room and Surface:
-
-
- Clear the Room: Remove as much furniture as you can. Next, cover the floor and any remaining furniture with drop cloths or plastic sheeting.
- Clean the Ceiling: Dust and clean the ceiling thoroughly using a damp cloth or a vacuum cleaner with a brush attachment to remove any cobwebs or dust.
- Repair Any Damage: Ceiling cracks and holes should be repaired with an appropriate filler. Once it’s dry, sand it smooth. (Be sure to follow manufacturer instructions.) Before proceeding to the next steps, ensure the ceiling is dry and free of grease or stains.
-
2. Use the Correct Tools and Materials
-
-
- Painter’s Tape: Use painter’s tape to protect the walls and architectural details from paint splatters.
- High-Quality Paint: Select a high-quality ceiling paint. Quality makes a difference! Matte or flat finishes are best for ceilings, as they better hide imperfections.
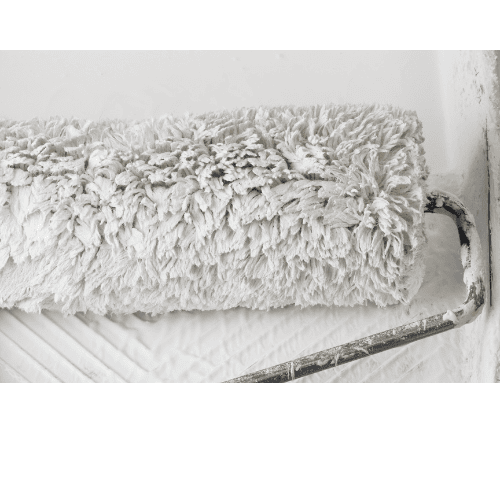
- Rollers and Brushes: To paint a ceiling, you will need to use a roller with an extension pole for the main areas. However, for the edges and corners, use an angled brush. A roller with a 3/8-inch nap is suitable for most ceilings. A textured ceiling will likely need a thicker nap.
-
3. Prime the Ceiling Before Painting
-
-
- Primer Application: If the ceiling is unpainted or you are covering a darker color, apply a primer before you paint. Primers help the paint adhere better and provide a uniform surface.
- Tint the Primer: You can tint the primer with a small amount of the ceiling paint color to achieve better coverage with fewer coats of paint.
-
4. Correct Paint Application
-
-
- Cut-In Edges First: Start from the outer edges of the ceiling by painting the edges and corners with a brush. This technique is known as “cutting in.” It ensures that the roller doesn’t get too close to the walls, reducing the risk of paint splatters. While it’s tempting, do not skip this step!
- Roll in Sections: After painting the edges, use a roller to paint the main areas of the ceiling. Work in small sections, about 5 feet square.
- Maintain a Wet Edge: A wet edge while painting helps to avoid lap marks. To do this, you should roll over the edges of the previous section while the paint is still wet.
-
5. Finishing Touches and Cleanup
-
-
- Inspect for Missed Spots: Once the paint is dry, inspect the ceiling for any missed spots or uneven coverage before you put away all your tools and materials. Touch up any spots or uneven coverage as needed.
- Remove Tape Carefully: It’s best practice to remove the painter’s tape while the paint is still slightly wet to avoid peeling off any dried paint.
- Clean Up: Clean your brushes, rollers, and other tools immediately after finishing. This will keep them in the best shape for your next paint project!
-
Follow these tips and best practices to achieve a smooth and professional-looking ceiling paint job. If the steps we’ve outlined above sound like too much work, feel free to contact our offices to discuss our help.


Sorry, the comment form is closed at this time.